QBone Part 5: Card Handles 1
Unfortunately, the final component for us to put QBones up for sale is still in transit. We've been told it may take another few weeks to arrive. We'll continue to blog until the part arrives, but posts are going to be a little more infrequent.
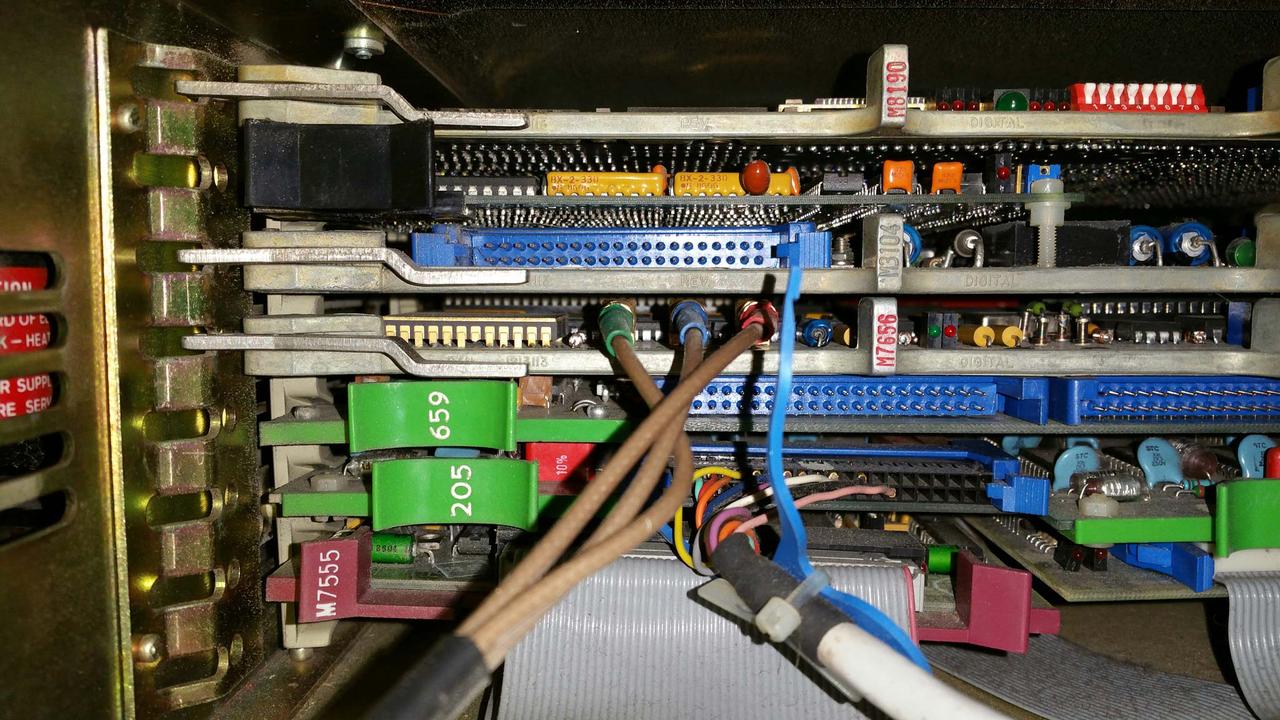
When working with the early QBones, one thing was very frustrating: getting the card in and out of a backplane. These backplanes require a lot of force, and it's hard to get a grip without a card handle.
We learned that previous attempts at having good handles made up has been challenging, though there have been some designs like Vince Slyngstad's work. The main problem has been that 3D printed handles have failed quickly under strain.
So, we started from scratch by copying a vintage handle's design:
We ruled out the metal handle/brackets because tooling costs would be huge. We also didn't think we'd be doing enough volume to have injection moulded handles made up, especially not with custom lettering. So, that leaves 3D printing and milling. Blocks of HDPE, PTFE, or Delrin for NC milling can still be quite expensive in low volume. So, we settled on 3D printing for production.
In analysing the design of the handle, we consider two actions in its use: putting a card in, and pulling a card out.
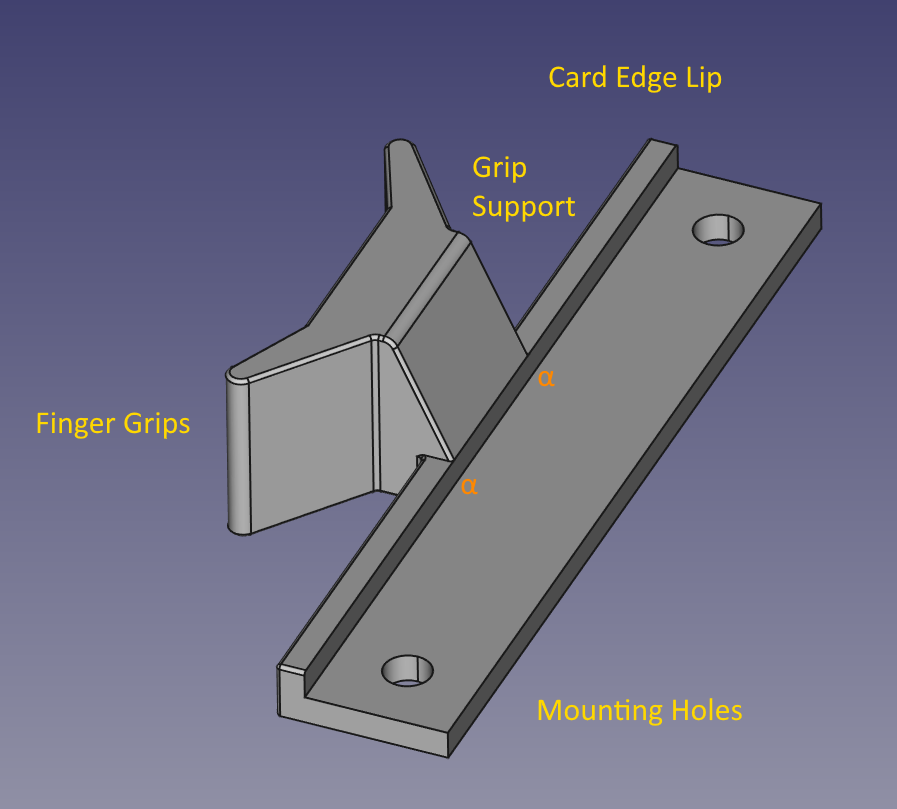
When pushing the card in, the force applied from the fingers transfers through the handle body and is then somewhat evenly distributed across the card edge lip, and then onto the card itself. 3D printing materials are generally strong against these compression forces, and so provided we pick a material such that the handles don't deform a significant amount due to this pressure. Then, we're roughly done worrying about pushing a card in.
The main direction the handles may deform is by twisting, especially if you aren't applying all the pushing force directly in line with the card plane. That's doubly so if you are pressing on the handles as far away from the card body as possible. Given the limited space, a triangular gusset makes the most sense here: it transfers the compression forces from pushing on the handle toward the card edge lip.
This is similar to what the original handles did, but introduces a hurdle for 3D printing: the thin gusset shape has a tendency to deform easily due to the layer by layer nature of the print. Also, the additional corners add weak spots and may render the shape unprintable by some printers. To avoid this, we fill the space between the handle gussets and print the area as a solid shape: it uses more material, but printing is easier and more uniform, and the end result is a much stronger handle.
For pulling the card out, in addition to the transfer of forces through the handle to the card body and a similar (but reversed) bending force, we also have to consider the bending force on each finger grip.
The user places a finger behind these grips to pull the card out. Now, we have a significant force (roughly one quarter of the total pulling force) applied by the user to a very small area (roughly 1 cm²). This force is going to bend the finger grips away from the card, so they must be made thick enough to resist this bending motion, while at the same time thin enough to allow users to get their fingers behind them.
One other difference in the pulling motion is we lack the assistance of the card edge: in pushing, the handle would push up against the card edge, and this helped resist bending imparted by the forces. During the pulling action we're bending the handle away from the card edge, so the only thing resisting the bending force is the handle itself. As the handle flexes, we are particularly interested in the points of maximum flexure (marked as α), as these are where the handle will deform or break in use.
Material selection is critical to ensure that the handle doesn't break under normal amounts of forces. We want a strong material here, but there is a tradeoff between the strength of the material and the rigidness of the structure. You can have a structure that allows some flex, as long as the material will allow that flexing without breaking. Or, you can have a material that is strong enough to withstand the forces without flexing at all. In the 3D printing world, materials are generally not strong enough to withstand these forces without some flex.
The right thing to do in this situation is to experiment, which is what we did. For common FDM/FFF printing, there is only one print orientation that makes sense - the bottom flat on the print bed. That's good! We wouldn't want to risk layer delamination when removing a card from the backplane. We tested a number of handles using a simple setup: each handle was mounted to a piece of wood using two wood screws, and a small spring-loaded luggage scale was attached to the opposite side. Force was then applied to the handle until the handle broke, or until the experimenter got tired. [1]
The results were clear: PLA handles would not work, but PETG or polycarbonate would withstand the force necessary. PETG is a good balance of high-strength and impact tenacity, without being too expensive or difficult to handle.
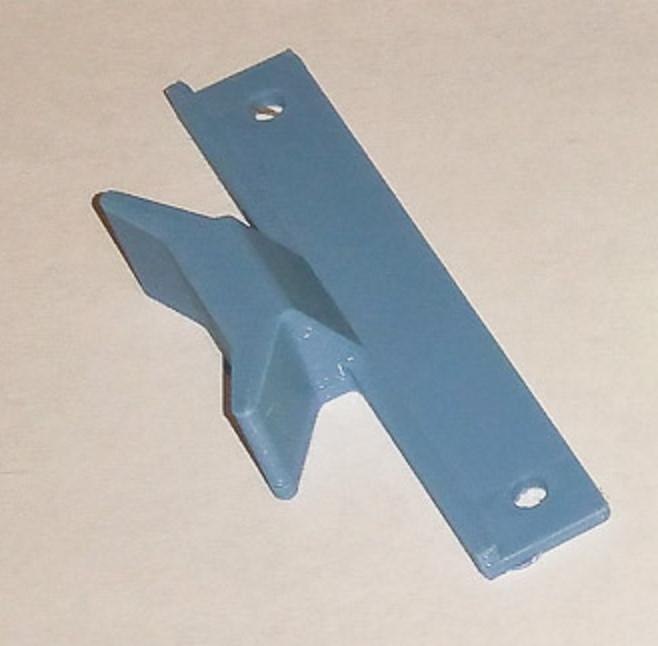
After refining print parameters for our print farm, here's our best result:
But we were sure we could do even better.
Next time: doing better.